When your HVAC system suddenly stops responding, the control board is often the part to blame. This small yet crucial component manages key functions like fan operation, heating, and cooling cycles.
Beyond the inconvenience, a faulty control board can cause irregular temperature control, short cycling, or a complete system shutdown. Knowing how to identify these issues and safely replace the board can help you avoid recurring repair costs and unnecessary downtime.
In this article, you’ll learn the signs of HVAC control board failure, safe HVAC control board replacement steps, and when Austin homeowners should call a licensed professional for expert help.
Key Takeaways
Catching the warning signs of a failing control board saves you from expensive repairs and keeps your Austin home or business cool when it matters most.
Every wire, terminal, and connection counts. Proper installation ensures your HVAC system works reliably, even during Austin’s hottest summer days.
Some fixes are DIY-friendly, but licensed technicians prevent mistakes, protect your system, and give you peace of mind.
Regular inspections, cleaning, and preventive care extend your control board’s life, even under Austin’s humid conditions.
How the HVAC Control Board Works and Why It Fails
The HVAC control board acts as the central “brain” of your heating and cooling system. It manages signals between key components, ensuring your system operates safely and efficiently. Typically located inside the air handler, furnace, or sometimes the outdoor unit, the control board coordinates the operation of the thermostat, blower, compressor, and safety sensors.
When you adjust the thermostat, the control board receives the command and signals the blower to circulate air, the compressor to cool, or the furnace to heat. It also monitors safety features, such as limit switches or pressure sensors, shutting the system down if it detects unsafe conditions. Essentially, without a functioning control board, your HVAC system cannot respond correctly to your comfort settings.
Why control boards fail
Several factors can damage the control board over time:
Age and wear: Older boards naturally degrade after years of constant operation.
Overheating: Poor ventilation or heavy usage can cause the board to overheat, especially during long Austin summers.
Moisture and humidity: High humidity levels in Central Texas can corrode components or trigger short circuits.
Wiring issues or power surges: Loose connections, lightning strikes, or electrical fluctuations can fry the board.
Once you understand how the control board functions and what causes it to fail, spotting the signs that it needs replacement becomes much easier.
Signs Your HVAC Control Board Needs Replacement
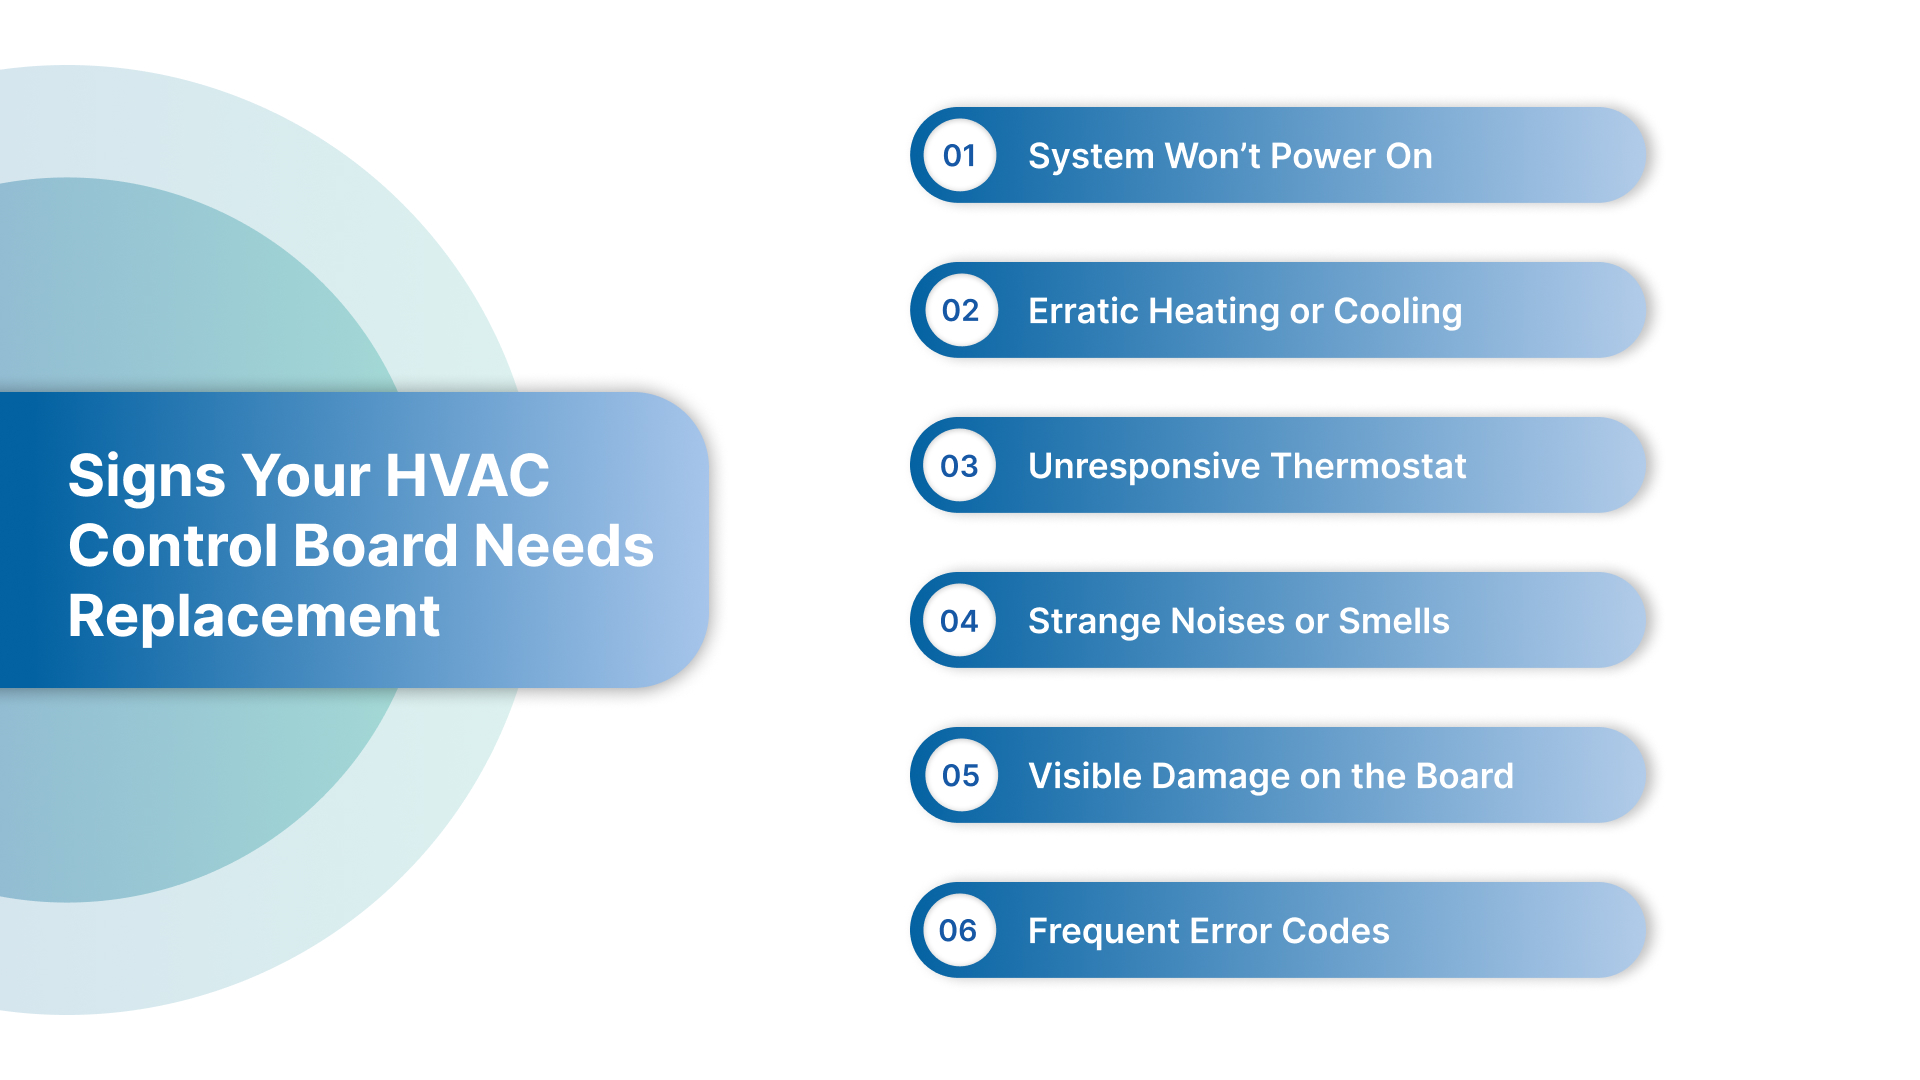
Identifying a failing HVAC control board early can prevent costly repairs and extended downtime. In many cases, the board shows clear warning signs before a complete system failure occurs. Homeowners and business owners in Austin should watch for the following indicators:
1. System Won’t Power On
If your HVAC unit fails to respond when the thermostat calls for heating or cooling, the control board may not be sending the necessary signals to the blower, compressor, or furnace. While blown fuses or tripped breakers can cause similar issues, repeated power failures often point to a board problem.
2. Erratic Heating or Cooling
A malfunctioning control board can cause irregular operation: your system may start and stop unexpectedly, fail to reach the desired temperature, or run longer than usual. Short cycling puts stress on other components and can increase your energy bills.
3. Unresponsive Thermostat or Blower
When adjusting the thermostat produces no response, or the blower only works intermittently, the control board may be failing to transmit commands correctly. In Austin, where summers demand consistent cooling, this can significantly affect comfort.
4. Strange Noises or Smells
Burning smells, buzzing, or clicking sounds coming from your HVAC system often indicate electrical issues on the control board. Corroded or burnt components are common signs that replacement is needed.
5. Visible Damage on the Board
If you inspect the board (only after turning off all power), you may notice burn marks, corrosion, or damaged wiring. These physical signs almost always mean the board has reached the end of its usable life.
6. Frequent Error Codes or System Alerts
Modern HVAC systems often display error codes or warning lights. Persistent codes that do not reset after troubleshooting other components often point directly to a failing control board.
After spotting the signs of a failing control board, it’s important to evaluate whether a repair will suffice or a full replacement is needed.
When to Repair and When to Replace Your HVAC Control Board
When your HVAC control board starts showing signs of trouble, you need to make an important choice: try repairing the existing board or replace it completely. Knowing the differences between these options and the key factors to consider can help you avoid unnecessary costs, save time, and reduce stress.
Here’s a quick comparison to help you decide:
Aspect | Repair | Full Replacement |
Damage Level | Minor issues like loose connections, blown fuses, or small burnt components | Severe burns, corrosion, or multiple failed components |
Time & Cost | Faster and cheaper in the short term | Higher initial cost, but reduces repeated repair expenses |
System Age Suitability | Works better on newer boards with minimal wear | Ideal for older or heavily used HVAC units |
Reliability | May not provide long-term solution; recurring issues possible | Ensures reliable operation for years |
Austin Climate Consideration | Can work if system use is moderate | Recommended for homes/businesses facing heavy use during long, hot, humid summers |
Repairing the board may be an option if the damage is minor, but a full replacement ensures long-term reliability, especially for Austin homes and businesses where HVAC systems run heavily.
With the choice made, understanding the step-by-step replacement process ensures your HVAC system stays safe and reliable.
Step-by-Step Guide to HVAC Control Board Replacement
Replacing an HVAC control board requires careful attention to detail and strict adherence to safety precautions. Follow these steps to ensure a smooth replacement and reliable operation.
Step 1: Shut Off Power
Before touching any component, turn off the HVAC system at the breaker panel. Use a voltage tester to confirm that the system is completely dead. This step protects you from electrical shock and prevents further damage to the unit.
Step 2: Access the Unit
Locate the control board inside your furnace, air handler, or outdoor HVAC unit. Remove any panels or covers carefully, keeping screws and small parts organized. Make sure the workspace is dry and well-lit.
Step 3: Document the Old Board
Take clear photos of the old board, labeling all wiring positions. This documentation will help you reconnect everything correctly and reduce the chance of errors during installation.
Step 4: Remove the Old Board
Unscrew the board from its mount and carefully disconnect each wire. Inspect the board and connections for burn marks, corrosion, or loose wiring. Note any additional issues that may need attention.
Step 5: Install the New Board
Mount the new control board in the same position as the old one. Reconnect each wire one at a time, following the photos and labels you created. Double-check that each connection is secure and seated properly.
Step 6: Reassemble Panels and Restore Power
Replace all panels and screws you removed earlier. Once everything is secured, restore power to the system at the breaker.
Step 7: Test the System
Activate the thermostat and run a heating or cooling cycle. Ensure the blower starts, the compressor engages, and the system responds correctly. Watch for any error lights or unusual sounds.
Step 8: Monitor for 24–48 Hours
Observe the system closely over the next day or two. Confirm that temperature control is consistent and that no new error codes appear. This helps catch any minor wiring issues or installation problems before they cause bigger failures.
While following the step-by-step HVAC control board replacement process is essential, it’s equally important to know the potential pitfalls and how to prevent common mistakes to keep your HVAC system safe and reliable.
What Could Go Wrong & How to Avoid Mistakes
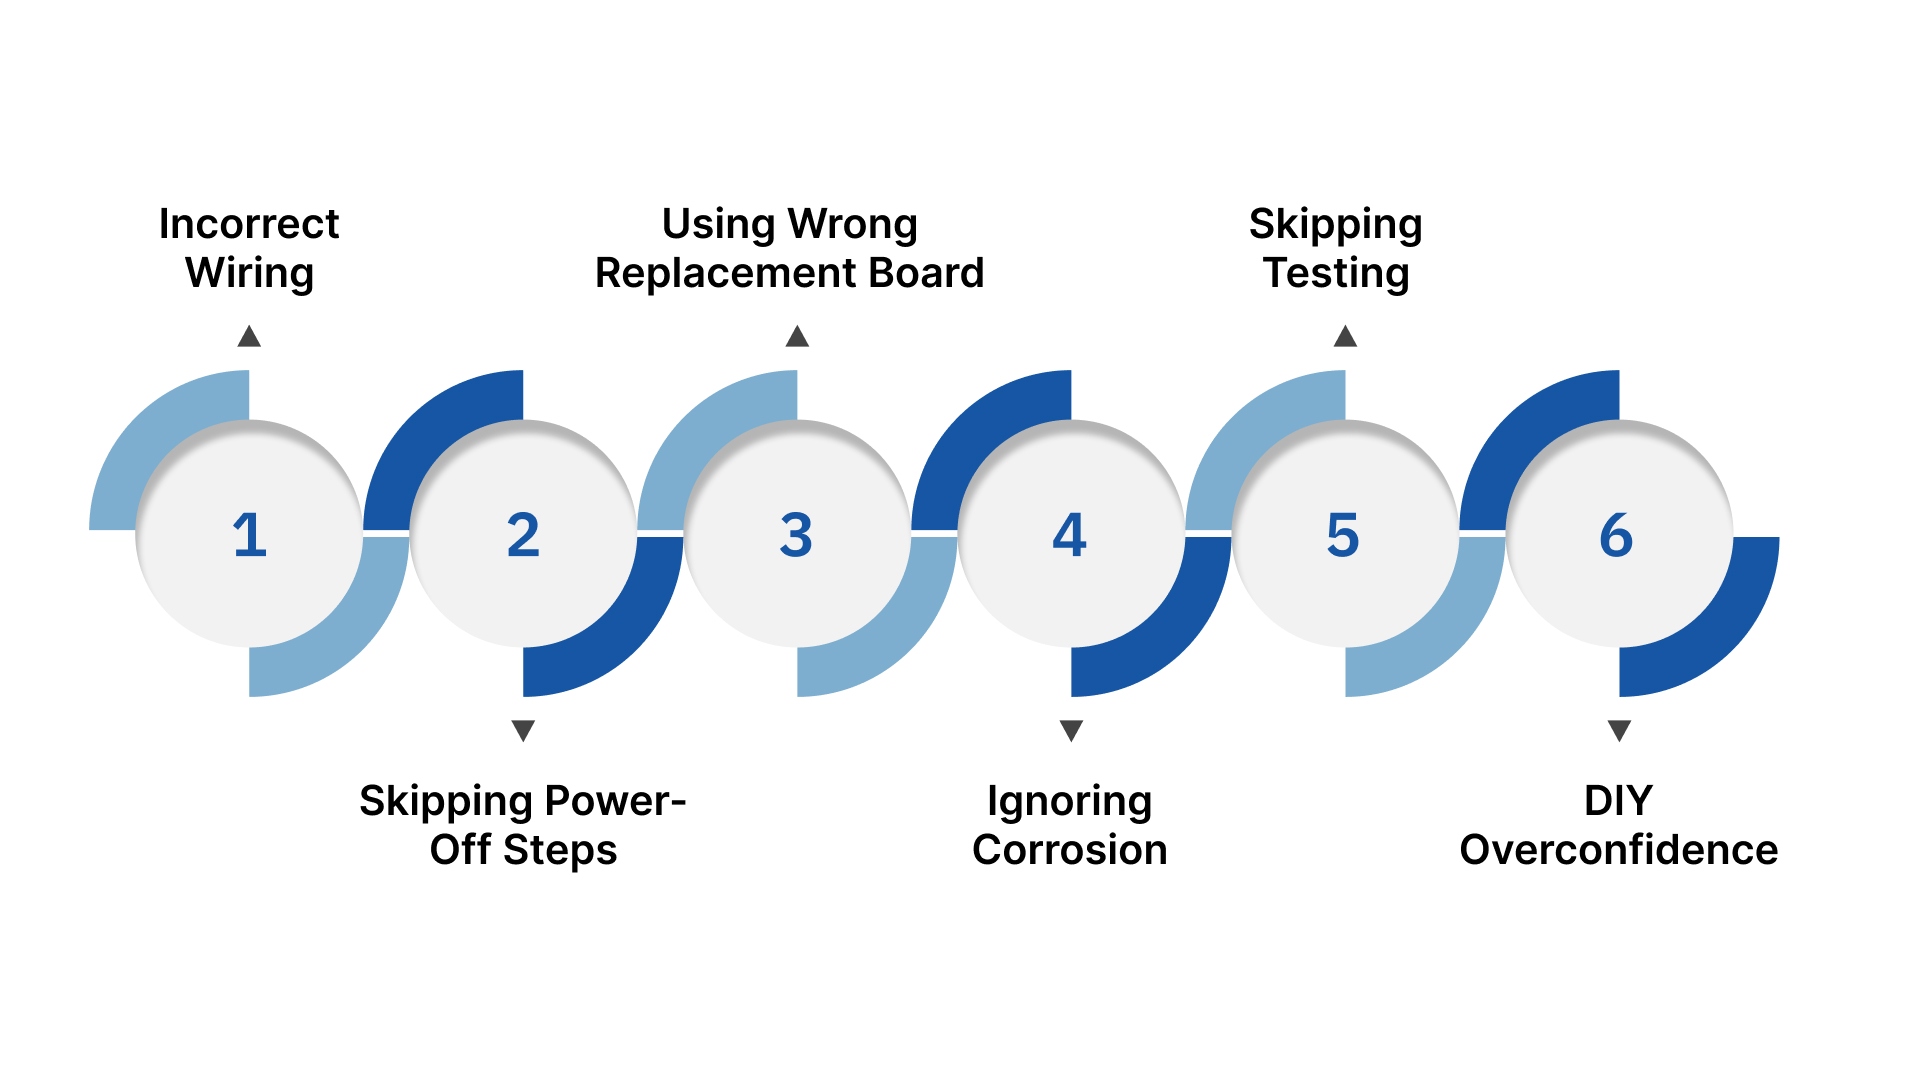
Even with careful planning, HVAC control board replacement can encounter problems if proper precautions aren’t followed. Knowing the common mistakes and how to avoid them can save time, money, and system damage.
1. Incorrect Wiring Connections
One of the most frequent errors is reconnecting wires to the wrong terminals. This can cause system malfunctions, trigger error codes, or damage the new board.
How to avoid: Label each wire before removal, take clear photos of the connections, and double-check each wire before securing it. In Austin homes, where air conditioning runs heavily during summer, even a single misconnection can cause repeated system failures and higher cooling costs.
2. Skipping Power-Off Steps
Failing to shut off power before working on the board risks electrical shock and component damage.
How to avoid: Always turn off the breaker and verify with a voltage tester that the system is completely dead. Given Austin’s long cooling season, taking this safety step prevents downtime during the hottest months.
3. Using the Wrong Replacement Board
Installing a board that isn’t compatible with your system can prevent proper operation and may void warranties.
How to avoid: Match the model number and manufacturer specifications exactly. In Austin, many homes rely on high-capacity AC units, so using the correct board ensures your system maintains comfort during intense summer heat.
4. Ignoring Minor Damage or Corrosion
Small signs of wear, like corroded terminals or burnt spots, can compromise the new board.
How to avoid: Inspect wiring and connectors carefully, clean minor corrosion, and replace any damaged parts before installation. Central Texas humidity can accelerate corrosion, so checking these details is especially important for local HVAC systems.
5. Neglecting Post-Installation Testing
Skipping thorough testing can allow undetected issues to persist, leading to repeated breakdowns.
How to avoid: Run a full heating and cooling cycle, monitor error codes, and confirm that the blower, compressor, and thermostat work correctly. This step is crucial in Austin, where HVAC systems operate for long periods in extreme summer temperatures.
6. DIY Overconfidence
Attempting repairs without sufficient knowledge can escalate minor problems into major failures.
How to avoid: Know your limits and call a licensed HVAC professional when unsure. In Austin, hiring a local expert ensures safe installation, prevents downtime, and keeps your system reliable through peak summer and winter seasons.
Knowing what can go wrong helps you prepare, but having experienced professionals like Abba HVAC handle the replacement takes the stress out of the process.
How Abba HVAC Makes Your Control Board Replacement Simple
HVAC control board replacement can be a complex task, but Abba HVAC in Austin simplifies the process with professional expertise and reliable service. Whether it’s a residential unit or a commercial system, our team ensures the replacement is safe, efficient, and long-lasting.
Here’s how we make it hassle-free:
Licensed and Experienced Technicians: Our team has decades of combined experience in HVAC repair and installation. They assess the board carefully, determine whether repair or replacement is best, and execute the job correctly the first time.
24/7 Emergency Service: Control board failures can happen at any time. We respond quickly to Austin homeowners and business owners to restore comfort and prevent further damage to their systems.
Comprehensive System Knowledge: We handle all components, including the thermostat, blower, compressor, and safety sensors, ensuring all connections are accurate and your system operates smoothly.
Preventive Maintenance Expertise: Beyond replacement, we provide guidance and maintenance programs to extend your control board’s lifespan, reducing the likelihood of future failures.
Local Austin Insight: We understand the demands of Austin’s climate, including long, hot summers and high humidity, and adjust our replacement techniques to maximize efficiency and reliability.
With Abba HVAC, you get peace of mind, expert service, and a system ready to handle Austin’s climate demands without the guesswork.
Conclusion
Replacing an HVAC control board is a critical task that directly affects the performance and reliability of your heating and cooling system. By understanding the warning signs, knowing the step-by-step process for replacing an HVAC control board, and avoiding common mistakes, Austin homeowners and business owners can protect their comfort and prevent costly breakdowns. Preventive maintenance and timely intervention also help extend the life of your HVAC system.
At Abba HVAC, we make control board replacement simple and worry-free. Our licensed technicians handle every detail, from accurate diagnosis to secure installation, while considering the specific demands of Austin’s climate. We ensure your system operates efficiently, keeps you comfortable, and reduces the risk of future failures.
Contact Abba HVAC today to schedule a professional assessment and ensure your HVAC system stays reliable year-round.
FAQs
1. How long does an HVAC control board replacement take?
The replacement process typically takes 1–3 hours, depending on the system’s complexity and accessibility. In Austin homes, where units may run frequently, our licensed technicians prioritize efficiency without compromising safety, ensuring minimal downtime for heating or cooling.
2. Can a failing control board damage other HVAC components?
Yes, a malfunctioning control board can send incorrect signals to the blower, compressor, or thermostat. This may cause short cycling, overheating, or system stress. Replacing the board promptly prevents further damage and maintains system efficiency in Austin’s hot summers.
3. How often should an HVAC control board be inspected?
Control boards should be checked at least once a year during routine maintenance. For Austin residents, where HVAC systems work heavily during summer and winter, annual inspections help catch early signs of wear, corrosion, or electrical issues before a full replacement becomes necessary.
4. Is it safe to replace an HVAC control board myself?
While minor repairs might be possible for experienced DIYers, replacing a control board involves electrical work and precise wiring. In Austin, hiring a licensed professional ensures safe installation, prevents accidental damage, and keeps your system reliable under heavy seasonal use.
5. What are the costs involved in replacing an HVAC control board?
Costs vary based on the system type, brand, and labor required. Generally, the replacement ranges from a few hundred to over a thousand dollars. Austin homeowners benefit from professional assessments at Abba HVAC, which provide accurate estimates and avoid unnecessary expenses from trial-and-error attempts.